
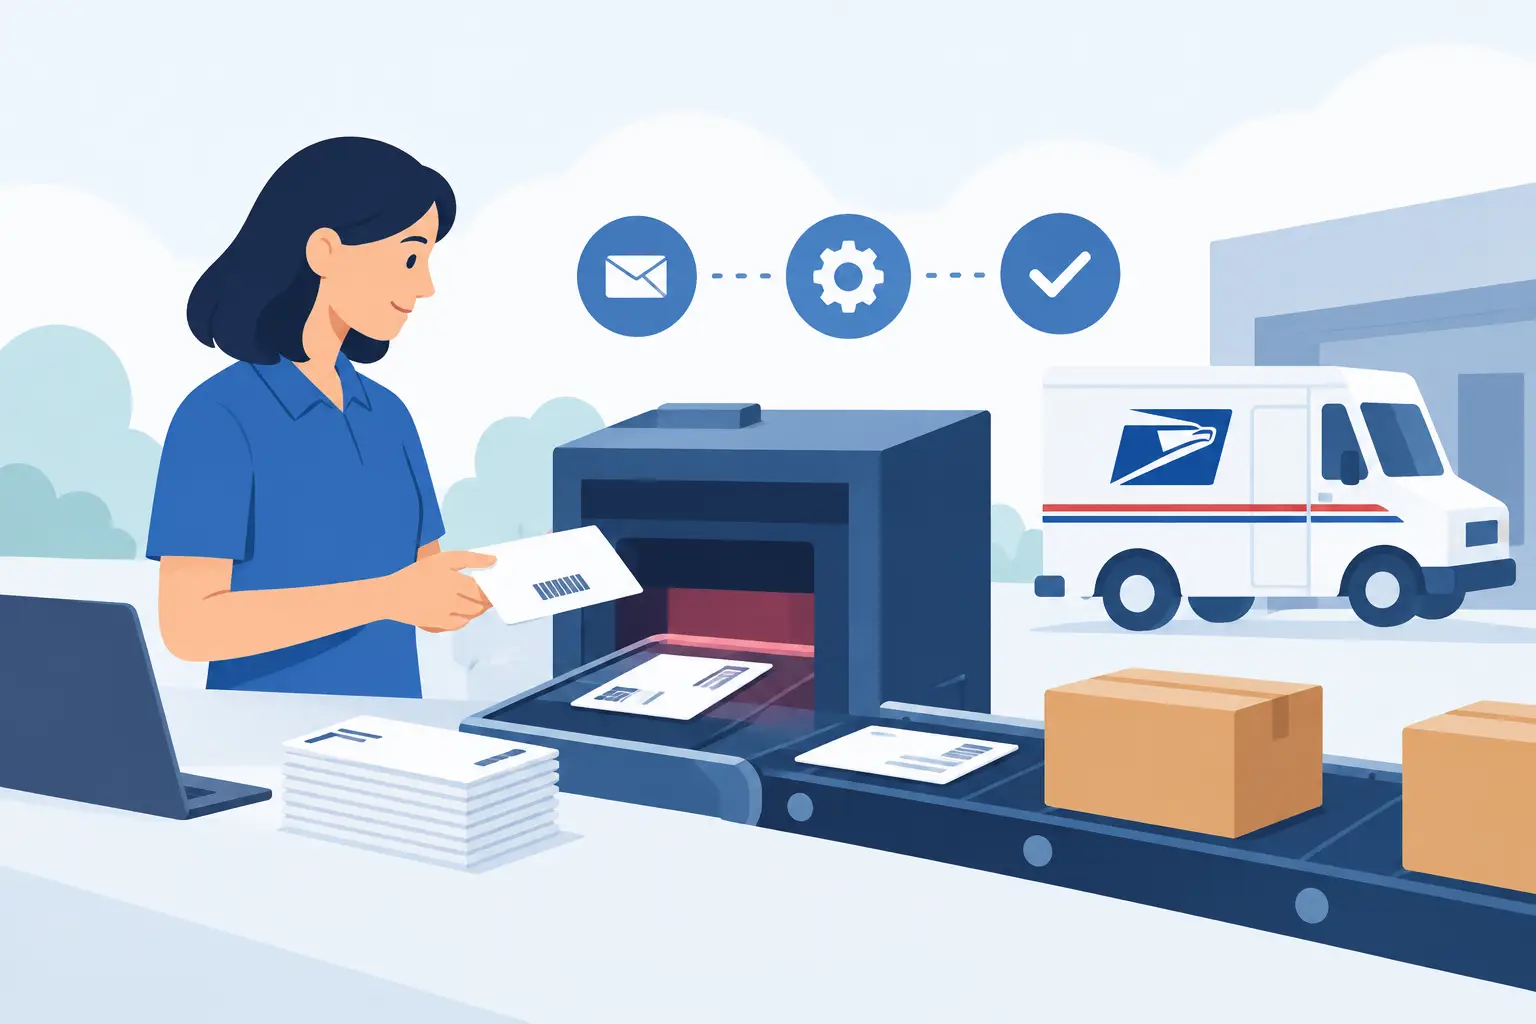
A missed acceptance scan can turn a well-produced mailing into a schedule problem. For campaigns, nonprofits, government offices, and direct marketers working backward from a fixed in-home date, USPS eInduction is not simply a different entry method. It is a controlled handoff between your production floor, electronic documentation, transportation plan, and USPS facility. This USPS eInduction implementation guide explains how to build that handoff with the verification and records needed to defend the job later.
eInduction allows USPS to use barcode scans on qualifying containers or pallets, together with the electronic documentation already submitted for the mailing, to verify entry. Done correctly, it can reduce manual acceptance handling and create a more consistent record of what was tendered. Done casually, it can produce failed scans, documentation mismatches, delayed acceptance, and unanswered questions when a customer asks where the mail entered.
What eInduction Changes at USPS Entry
Traditional acceptance often centers on presenting paperwork and mailing statements for a postal clerk to review at the entry unit. eInduction shifts much of that verification to electronic documentation and scanned container identifiers. USPS compares the scanned barcode and the associated eDoc to determine whether the mailing can be inducted.
That changes the operational standard. A mailing is no longer ready because it is printed, sorted, and loaded. It is ready when the physical containers, labels, eDoc, appointment or drop-ship plan, and shipment records all agree.
For a political mail program, that distinction matters. A campaign may approve art at noon, require mail entry the next day, and need a defensible answer if a delivery window is questioned. The operational objective is not merely to move containers out the door. It is to establish a traceable chain from the approved source list to each documented USPS entry event.
USPS eInduction Implementation Guide: Start With Eligibility
Do not build a workflow around assumptions. Before changing production procedures, confirm that the mail class, preparation level, entry facility, container type, software configuration, and USPS program participation support the eInduction process you intend to use. Requirements can vary by mailing type and change over time, so the current USPS rules and your local postal contacts should govern the final decision.
Define the mailing and entry model
Begin by documenting how your mail will move. Identify the mail class, postage payment method, presort level, planned entry point, destination entry discounts if applicable, and transportation responsibility. Establish whether the job will be entered at the acceptance unit, transported as a drop shipment, or tendered through another approved arrangement.
This is also where teams should identify ownership. One person should own postal documentation. Another should own container labeling and physical verification. Transportation should have a named owner, including responsibility for appointment details and proof of tender. When one coordinator is expected to solve all three areas after a truck has departed, exceptions become harder to reconstruct.
Establish identifier discipline
eInduction depends on identifiers being accurate, unique where required, and physically scannable. Your Mailer ID, container barcode assignments, placards or labels, and eDoc must be generated through a controlled process. Avoid manual relabeling without an accompanying documentation update.
The most common failure is simple: a physical pallet or container carries a label that does not match the final eDoc. This can happen after a late tray move, a reprint, a damaged label replacement, or a last-minute shift in containerization. The fix is not to scan faster at the dock. The fix is to require a reconciliation step after the final physical preparation is complete.
Barcode quality deserves the same attention as address quality. Labels must be printed at a usable quality, placed where the facility can scan them, protected from damage in transit, and verified before loading. A barcode that technically exists but cannot be read under dock conditions is not operationally complete.
Build a Controlled Production-to-Entry Workflow
The strongest eInduction programs treat every handoff as a checkpoint. That does not mean adding paperwork for its own sake. It means capturing proof at the moments when the physical mail can diverge from the electronic record.
Close the job before creating the final eDoc
Start with the source list and final presort output. Confirm piece counts, postage calculation, tray or bundle counts, container counts, and qualification reports. If the mailing uses variable data, reconcile produced pieces to the approved mailing population and document every spoilage, suppression, duplicate, and reprint decision.
Only then should the final eDoc be submitted through the applicable USPS electronic documentation workflow. The job record should preserve the submission confirmation, mailing statement details, and the version of the data used to create the documentation. A revised eDoc is not inherently a problem. An undocumented revision after containers are labeled is.
For deadline-sensitive mail, set a practical cutoff for changes. There is always pressure to add names, update a message, or revise quantities after production has begun. The right answer depends on volume and schedule, but the rule should be clear: changes after the control point require a documented rework path, not an informal adjustment.
Verify containers against the plan
After mail is physically prepared, compare the completed containers to the planned containerization. Scan or otherwise verify each container identifier, confirm it belongs to the correct job, and record the final count. If containers are combined, split, or relabeled, update the documentation before tender.
Camera-based production controls can add useful evidence here, especially for high-volume political or nonprofit mail. They help show that the produced mailpiece count reconciled to the source list and that exceptions were identified instead of disappearing into aggregate totals. That production record does not replace USPS acceptance data, but together they create a stronger audit trail.
Control the dock and transportation handoff
A clean eDoc will not correct a missed truck, a wrong destination facility, or a load that cannot be identified after it leaves the plant. At dispatch, record the truck or carrier, departure time, destination, container count, and the responsible driver or transportation provider. Retain shipping paperwork and any facility-specific appointment or tender confirmation.
For high-stakes mail, photograph or scan the load at dispatch and retain the manifest with the job record. This is especially useful when multiple campaigns or customers share transportation. It establishes what was loaded for each job before any downstream issue is investigated.
Design for Exceptions, Not Just the Happy Path
Every mail operation eventually encounters a failed barcode scan, damaged placard, unplanned reprint, rejected container, late trailer, or eDoc discrepancy. The difference between a controlled operation and a scramble is whether the exception has a defined owner and documented resolution.
Create an exception log that captures the job number, container identifier, issue, time discovered, person responsible, corrective action, and final status. If a label is replaced, record the old and new identifier relationship. If a container is removed from a shipment, make sure the eDoc and dispatch record reflect that change. If USPS identifies a discrepancy, preserve the details rather than relying on a verbal explanation after the fact.
Not every exception requires stopping the entire mailing. A single damaged placard may be corrected quickly. A broad mismatch between physical containers and the eDoc should stop release until the cause is understood. The decision depends on scope, cutoff time, and the availability of a verified corrective action. Speed matters, but unverified speed can create a larger delay at the entry facility.
Pilot Before Converting Every Mailing
A controlled pilot is usually the right first step, particularly for organizations moving from manual acceptance or changing software, labeling equipment, or transportation processes. Choose a representative mailing with enough volume to test actual container handling, but avoid the election-week job that cannot tolerate learning curves.
Measure more than whether the mail was accepted. Review label scan performance, container-to-eDoc match rate, time from job close to eDoc submission, number of manual interventions, acceptance exceptions, and time required to retrieve records afterward. A process that works only because one experienced employee remembers every special case is not ready to scale.
Once the workflow is stable, standardize job setup fields, proof requirements, scan procedures, dispatch forms, and exception codes. Your Plavidian account is built around this kind of visibility: job setup, approvals, production status, reporting, and postal documentation should be connected rather than held in separate inboxes and spreadsheets.
Retain Records That Answer the Real Questions
When a client, postal representative, or internal operations leader reviews a mailing, the questions are predictable: What was approved? How many pieces were produced? What exceptions occurred? Which containers were tendered? When and where did USPS receive them?
Your retained record should answer those questions without reconstructing the job from memory. Keep approved artwork and proofs, source-list and hygiene reports, production reconciliation, final presort documentation, eDoc confirmations, container verification records, dispatch evidence, acceptance or induction data, and exception resolutions. Retention periods should align with your customer commitments, internal policy, and applicable postal or regulatory requirements.
The value of eInduction is not that it removes responsibility from the mailer. It makes disciplined responsibility visible. Build the process so every container has a documented path from the production floor to USPS entry, and the next deadline will be easier to protect than the last.